Article
玩玩 Drone CI
久聞 Drone CI 的大名卻一直沒理解過,剛好公司裡面用的 CICD tool 是 Drone~趕緊玩玩看
overview

drone 官方直接整合多樣 VCS,透過 webhook 的方式把各種 event 推給 drone-server,server 再去調用 drone-runner 執行各種命令,最後部署出去
drone 有提供各種不同的 server 與 runner,選擇自己適合的即可,這邊用 github + docker 當範例
installation
GitHub 設定
-
建立 OAuth app

oauth app landing page 
設定基本資料,ngrok 是好東西 記得複製
ID與SECRET -
建立 repo 與設定 webhook

設定基本資料,ngrok 是好東西 -
於 repo 根目錄放
.drone.yml
---
kind: pipeline
type: docker
name: default

steps:
  - name: backend
    image: golang
    commands:
      - go build
      - go test
    when:
      branch:
        - main

  - name: frontend
    image: node
    commands:
      - npm install
      - npm test
    when:
      branch:
        - main

  - name: publish
    image: plugins/docker
    settings:
      repo: whchi/drone-example
      registry: index.docker.io

  - name: try
    image: busybox
    commands:
      - cat README.md

  # 2021-07-22 只支援很早之前的 integration,紀錄當下並未支援現有 slack 版本
  # 依照官方文件操作才能正確安裝
  - name: notify
    image: plugins/slack
    settings:
      webhook: https://hooks.slack.com/services/...
      channel: your-channel-name
    when:
      status: [success, failure]
drone 設定
- .env
DRONE_GITHUB_CLIENT_ID=your_github_oauth_app_client_id
DRONE_GITHUB_CLIENT_SECRET=your_github_oauth_app_client_secret
DRONE_RPC_SECRET=random_string
DRONE_RPC_HOST=drone-server
DRONE_SERVER_PROTO=http
DRONE_SERVER_HOST=your_hostname
DRONE_SERVER_HOST 必須要和在 github 上面的一致,如果你用 ngork 的話就是 xxxx.ngrok.io
- docker-compose.yml
version: 3.9
services:
  drone-server:
    image: drone/drone
    restart: always
    ports:
      - 8080:80
    volumes:
      - drone:/var/lib/drone
    restart: always
    env_file:
      - ./.env
    container_name: local_drone_server
  drone-runner:
    image: drone/drone-runner-docker
    restart: always
    volumes:
      - /var/run/docker.sock:/var/run/docker.sock
    depends_on:
      - drone-server
    env_file:
      - ./.env
    container_name: local_drone_runner
volumes:
  drone:
測試
- 登入 drone-server
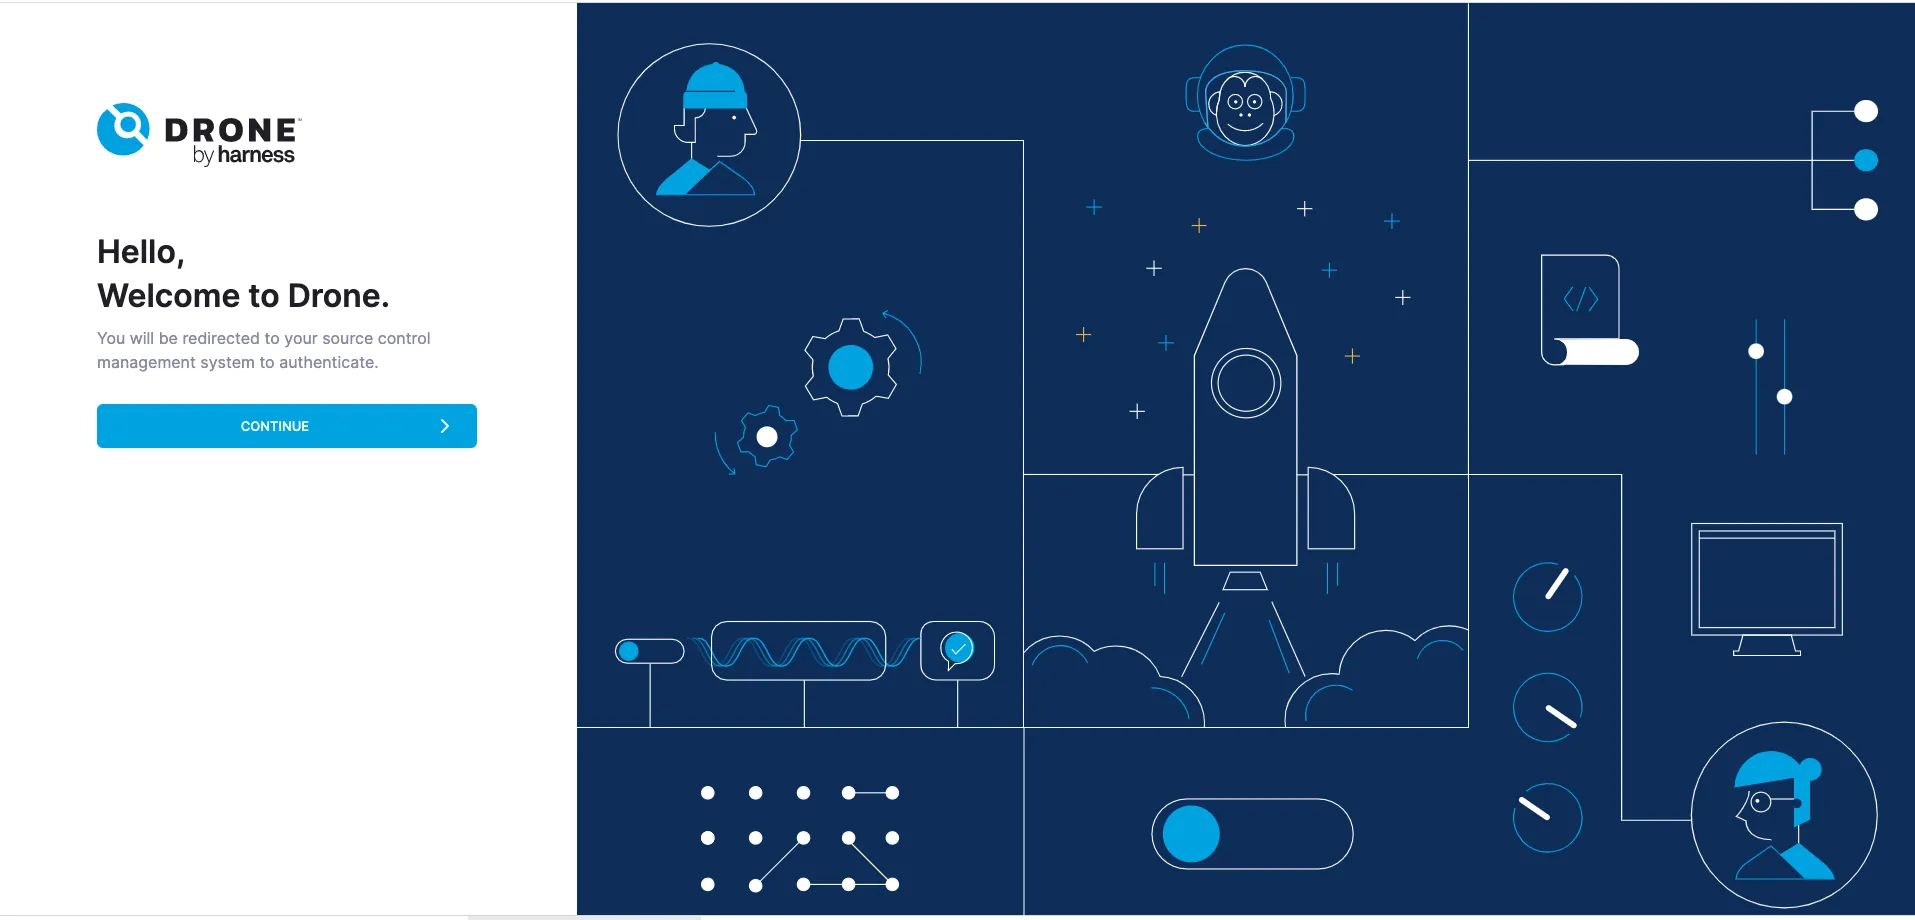
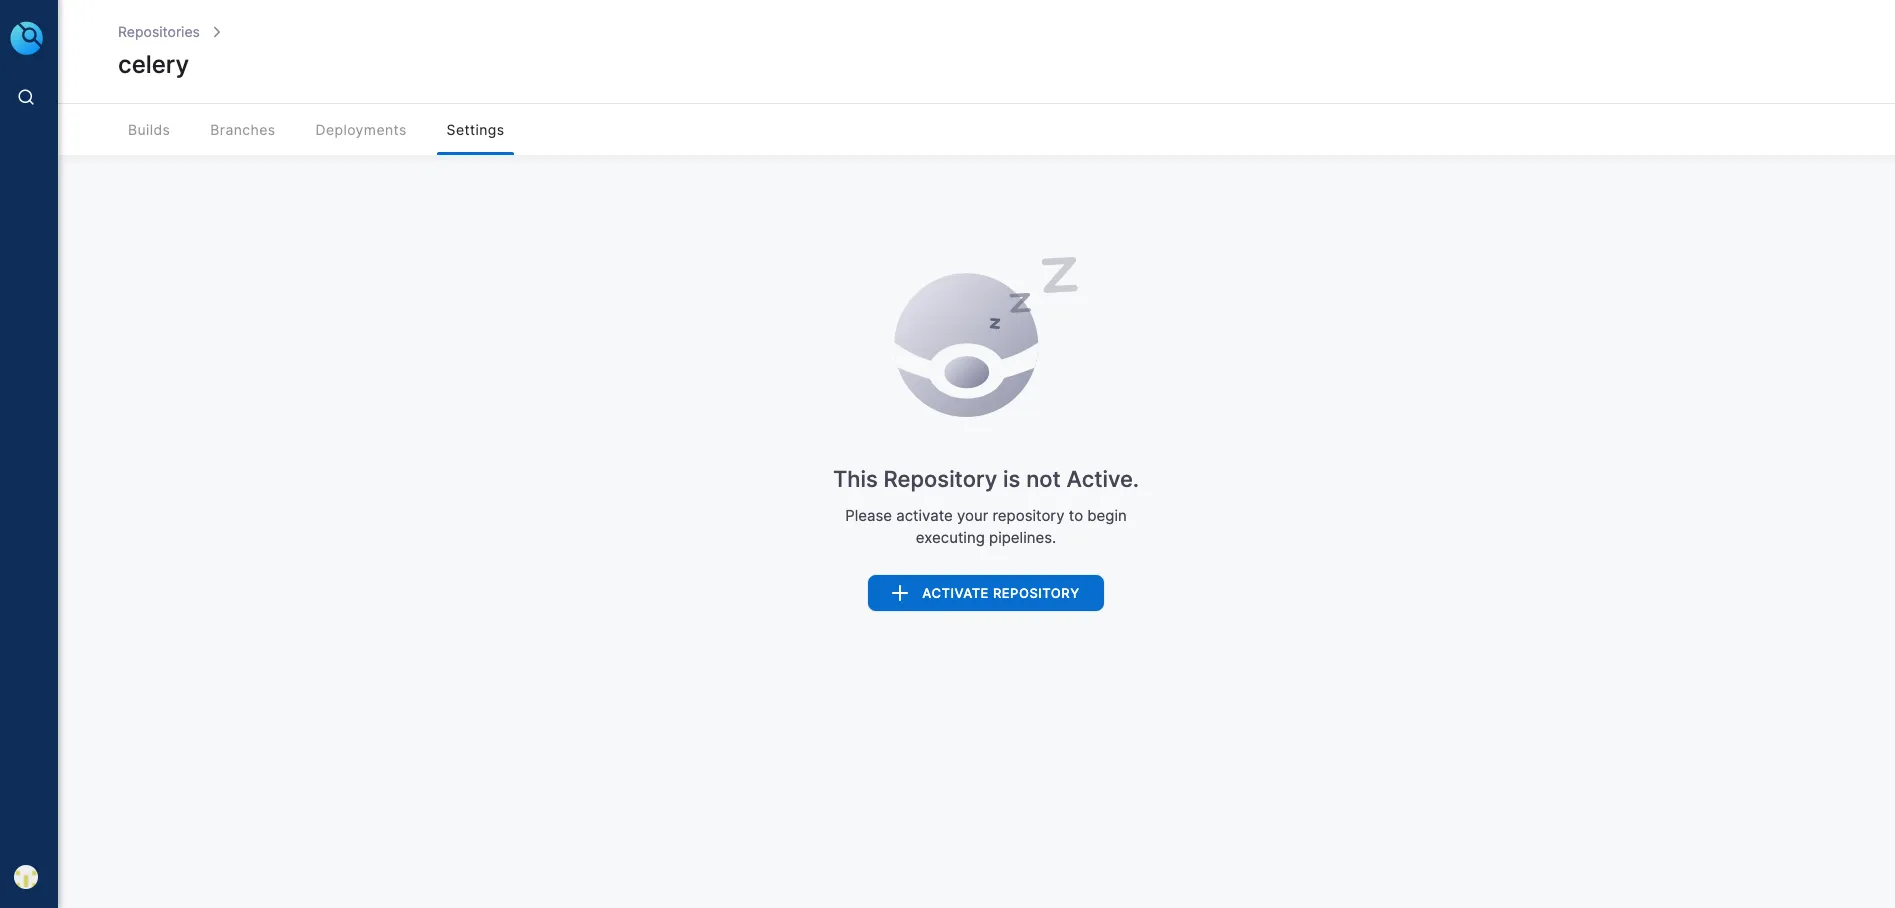
於瀏覽器輸入 domain - enable repo for drone
- 修改 repo 以觸發 build
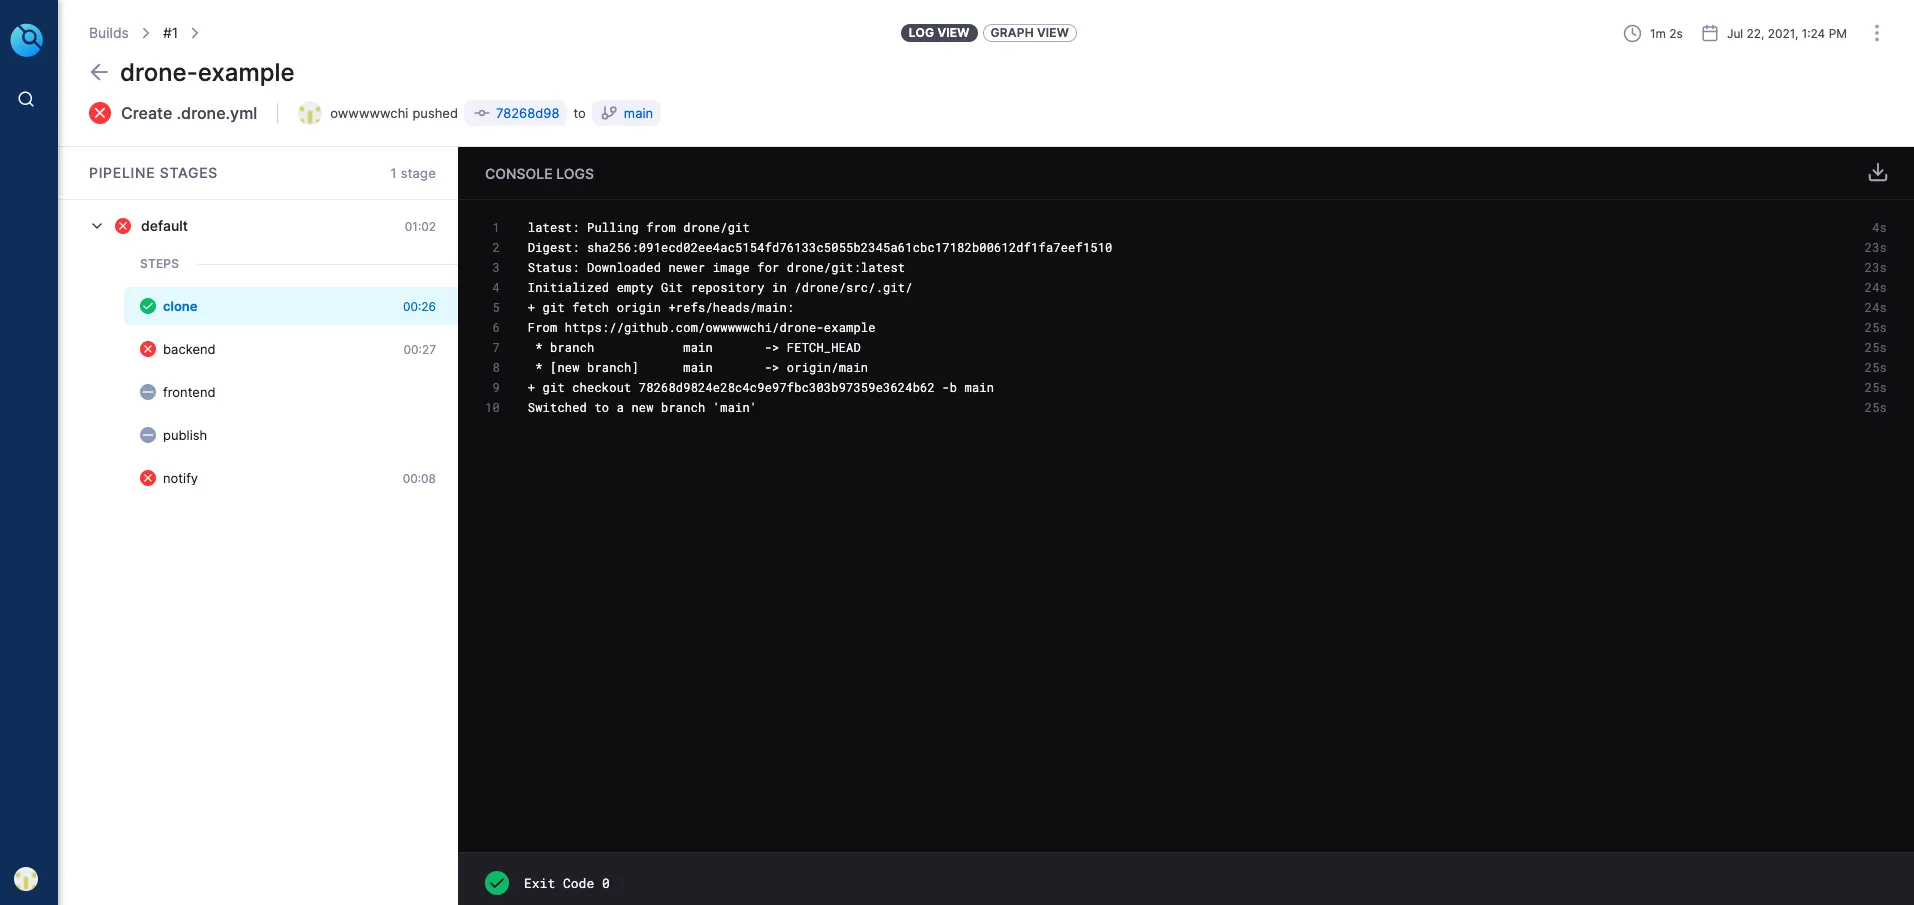
修改後觸發的 build log 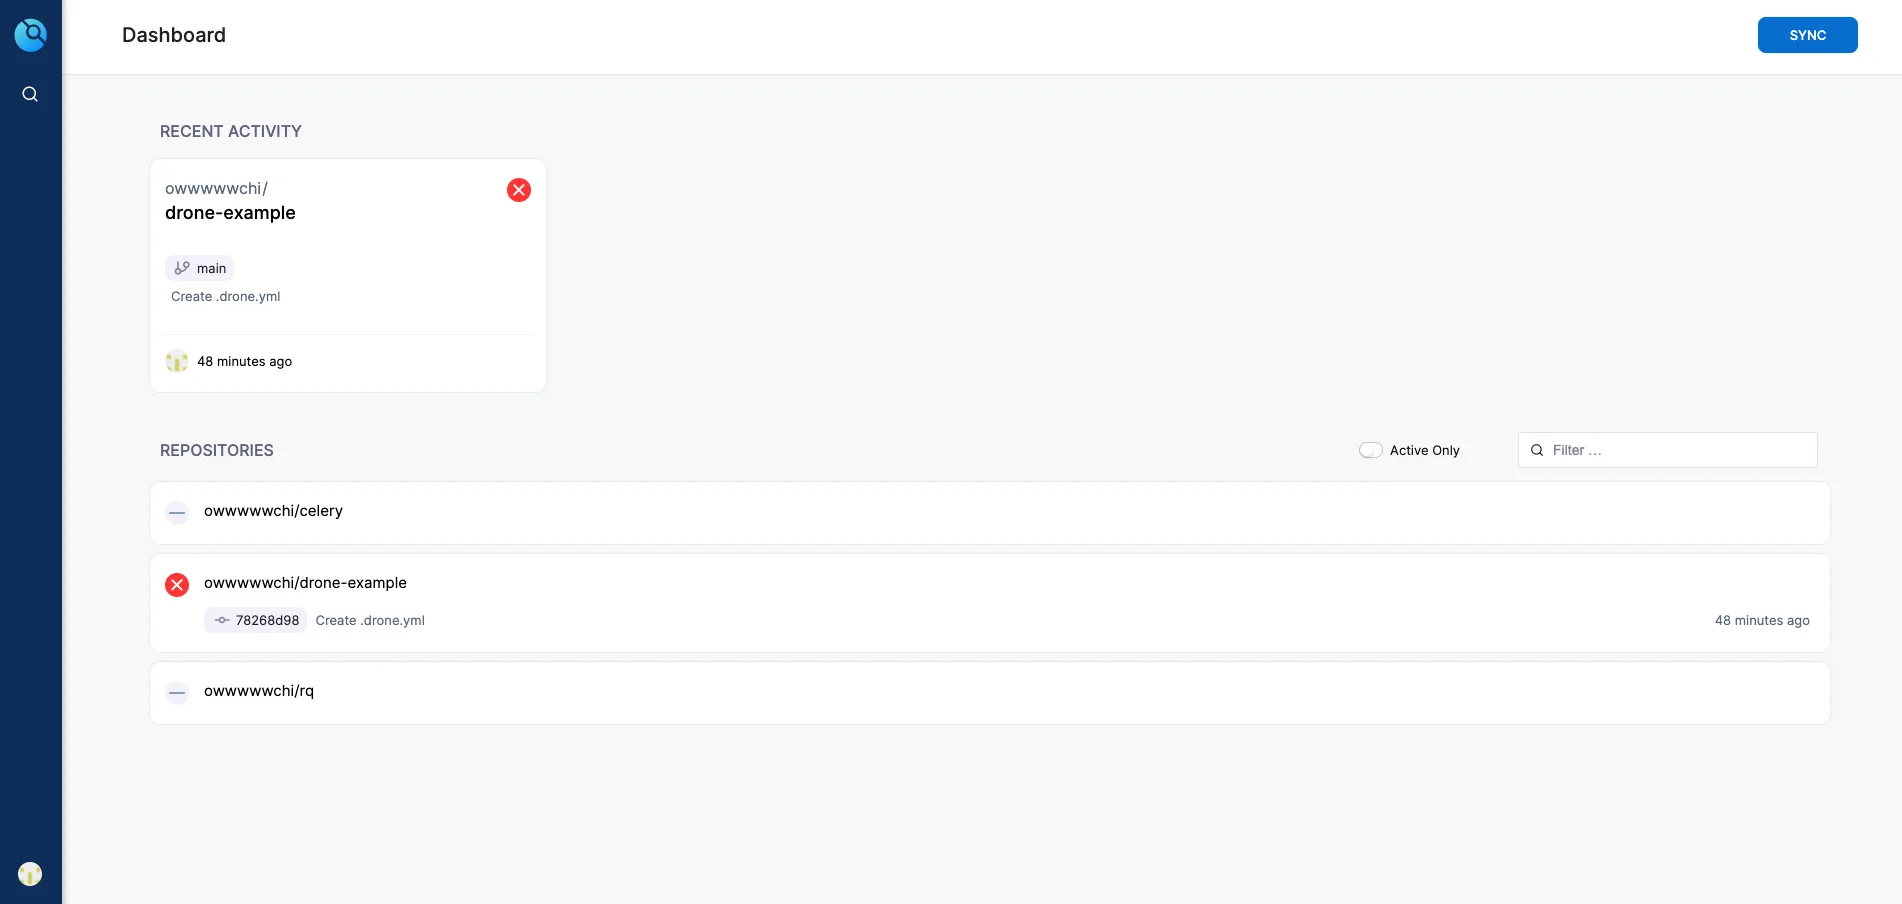
dashboard
這樣就是設定完成拉~剩下的就看你的 repo 要用哪種 runner 跟 pipeline 調整~
範例都放在我的 github 上提供參考